The good news is you don't have to be a professional graphic designer to create nice images/graphics for your blog. All you need is a computer, smartphone, or tablet. And my favorite graphic design companion - Canva.
(This post includes some affiliate links. Should you click an affiliate link and make a purchase I may receive a small commission at no extra cost to you.)
Canva is a graphic design tool you can access via the Canva app or site. Canva is great for graphic design-challenged bloggers (like me) because it makes graphic design so quick and easy.
Related read: 5 Of My Favorite Blogging Tools
I've been using Canva for a while, to create graphics and design elements for my blog as well as for personal things, so I'm a big fan. When I find something I like and helps make managing my blog easier I just have to share it.
As I mentioned, using Canva is easy. So keep reading to see how you can start using Canva to create your blog graphics in 6 easy steps.
Step 1: Signup or sign in
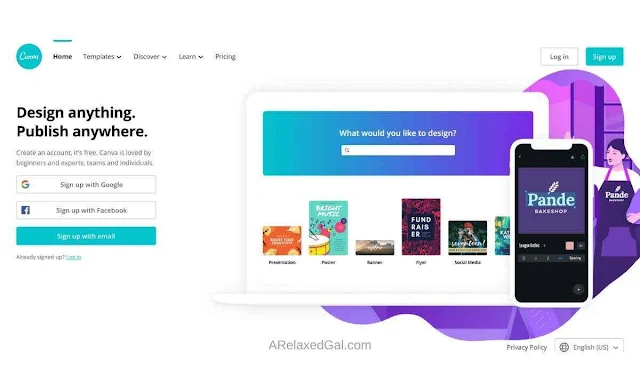
Go to Canva and sign in if you already have an account. If you don't have an account go ahead and signup. With Canva you have the option to signup for free or purchase a Pro Plan.If you're just starting out blogging and don't have extra money to spend I'd suggest starting with the free plan which includes
- Access to 8,000+ free templates
- Access to hundreds of thousands of free photos and graphics
- Ability to create designs with custom dimensions
- Ability to export designs as PDF, JPG, PNG
- 1 GB of storage for images you upload
Step 2: Select your template
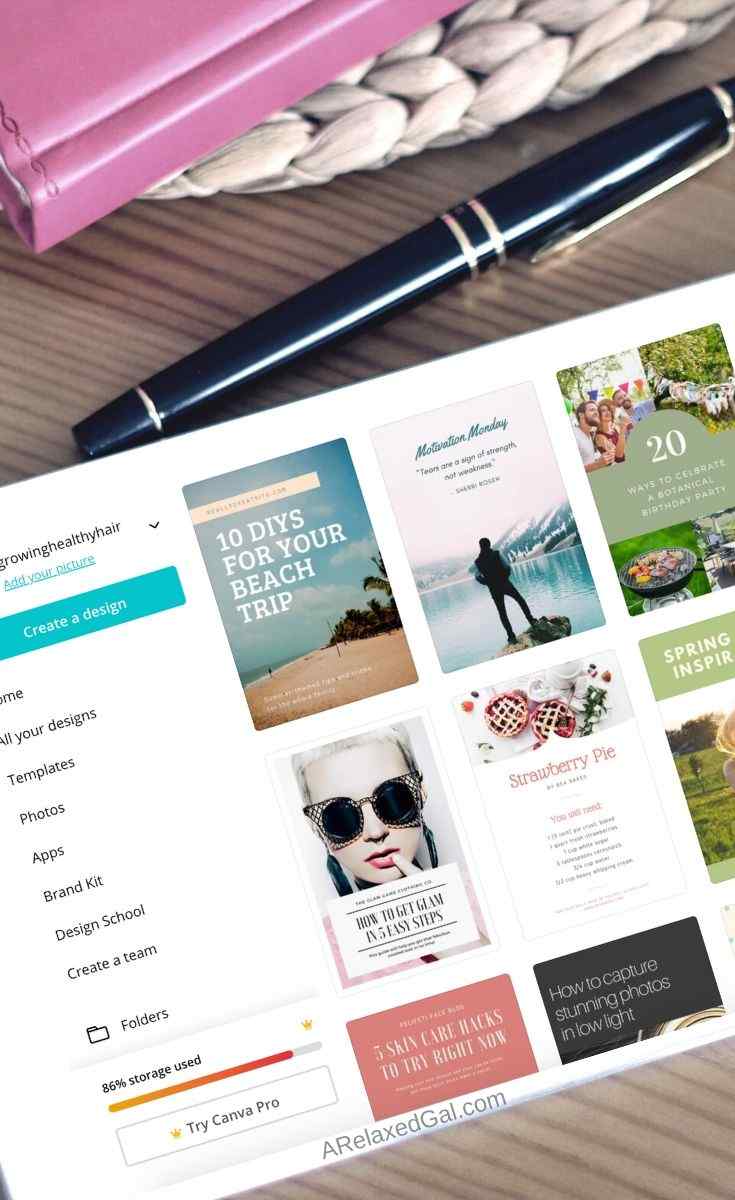
After logging in you'll see menus at the top and in the sidebar with a button or link saying Create A Design. You can use that to select a premade template or to create your own design from scratch.One of my favorite things about Canva is the multitude of dimensions available. You can create horizontal, vertical, or square graphics of all sizes. The templates give you either a starting point or a ready-to-use design making the whole process easier.
Is use the Pinterest template to create the graphics I use for my blog posts.
Step 3: Add an image or design element
Depending on what template you use, you may want to change out the placeholder image with one that fits your blog aesthetic and the topic of your blog post. To use an image you can either access the free image library that Canva offers or you can upload your own image.
One thing to keep in mind is if you use your own image it's best to upload a high-resolution image so that when you resize or crop it the image doesn't pixelate and get blurry.
You can also add design elements such as borders, shapes, lines, icons, and more. If you have a free plan you'll want to pay attention to which ones are free and which ones require the Pro Plan.
You can also add design elements such as borders, shapes, lines, icons, and more. If you have a free plan you'll want to pay attention to which ones are free and which ones require the Pro Plan.
Related read: 4 Ways To Customize Your Blog For Cheap
Step 4: Add your branding
If you have specific fonts or a color palette for your blog, you'll probably want to make sure those elements are used in the design of the graphic. Canva has several great fonts to choose from, even as part of the free plan which is great. I was able to find the fonts that I selected for my blog branding as part of my free plan.One thing I like about Canva is that it recognizes the fonts you use most often and brings them to the top of the font menu.
When it comes to colors, you can use any of the colors already in the system. Or you can add your own custom color by inputting the hex code.
If you have a Pro Account, you can create a brand kit by uploading your logos, creating your color palette, and adding your brand fonts.
Step 5: Download
Once done creating your graphic it's time to download it by clicking the Publish button or down arrow in the top nav. You have the option to download it as a JPG or png.Once downloaded I make the image file size smaller before adding it to my blog by using a free image compression tool online like imagecompression.org. Having a smaller image helps with page load and speed.
Step 6: Add to your post
Now that your graphic is designed and compressed you can upload the image to your blog and determine where in the post you want it to go.That's it. Really simple. The more you use Canva the more intuitive it becomes and the faster you can create graphics.
What do you use to create your blog graphics?


0 comments
Spam comments and comments with links promoting other sites will be deleted by the moderator.